By Guest Contributor, Digital Photography School – October 17, 2012 at 10:19AM
A Guest Post by Anne McKinnell
Wading through the sea of options to get your photographs seen online
Most of us start out in photography because we love to make images, it gets us outdoors, and helps us explore our creative selves. We do it for ourselves because it makes us happy.
But there is different side of photography that adds another dimension to the experience: sharing images with others. It’s one of the most popular things to do on the internet.
We do it to share experiences with our families and friends, get feedback from other photographers, and attract customers or clients.
There are three steps to making a big impression online:
1. Selecting images for your online portfolio
So, you want to put all of your images online for everyone to see, right? That’s a really bad idea. Not putting them online – the bad part is putting *all* your images online.
Imagine you are looking at a photographer’s portfolio and they have hundreds of images. Some are architecture, some are seascapes, some are portraits, some are still life. You’re going to see a lot of these. Hundreds of photographers will all blend together in your mind because they are indistinguishable from each other.
On the other hand, let’s say you look at a photographer’s work and they have 20 images all of which are black and white seascapes. He becomes the “black and white seascape guy”. Or let’s say they are all dog portraits. She becomes the “dog portrait woman” in your mind.
That doesn’t mean that if you are the dog portrait woman you cannot make images of architecture. You don’t have to choose right at the beginning what kind of photographer you want to become. Just choose one selection of your images to show the world right now. That will make you stand out in people’s minds and you will grow a bigger following because people can identify with you.
Pick a theme to work on. My first theme was seascapes at twilight.

Notice how all the images have a certain look to them. They fit together as a group. And there are less than 20. That’s what you need to do.
2. Creating your web gallery
Now that you have a great set of images to share with the world you need to choose a method for getting them online.
But … where to start? There are so many options!
So many that I could never summarize the pro’s and con’s of every available alternative but I will share what I have learned so you can get going quickly and easily. And I’m only going to suggest sites where your photos are sure to look great (sorry Flickr that leaves you out)!
The first thing is to determine what your goals are right now.
- Do you want to share with your family and friends with no intention to sell?
- Do you want to share and sell your images?
- Do you want to have a blog where you can share stories with your images?
- Are you ready to have your own website with your own domain name and either take on the technical aspects of this or hire someone to do so?
Let’s look at these options one step at a time.
You want to share with your family and friends with no intention to sell
500px is the best option for you. Images look absolutely stunning on the site and it is free if you upload fewer than 10 images per week. For only $20 per year you can upload as many as you like.
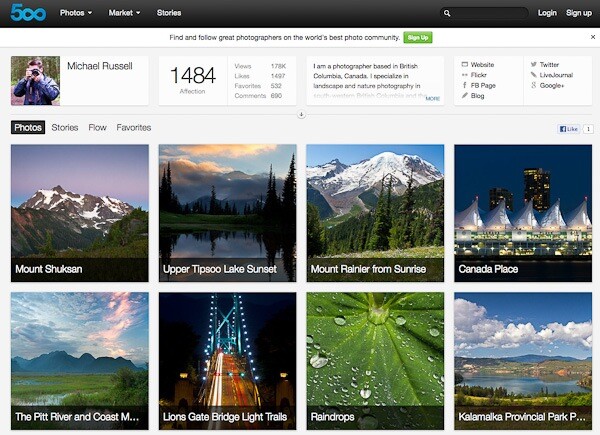
This screenshot is from Michael Russell‘s page on 500px.
Note that you can sell digital downloads on 500px too. The only print product you can sell is a fixed price canvas print which just doesn’t cut it if you are interested in selling print products.
You want to share and sell
SmugMug, Redbubble, DeviantArt, Photoshelter, Photocrati, Snapfish, Twitpic, Zenfolio – the options are endless and you could research forever before being able to make a decision.
I’ve tried many of these services, some paid, some free, and I’m going to tell you which one is super easy, looks great, and is totally free. It’s Redbubble.
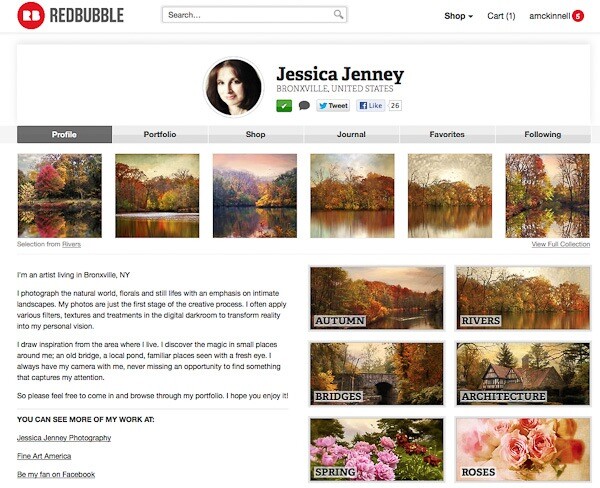
This screenshot is from Jessica Jenney’s page on Redbubble.
Redbubble offers lots of different products. I have ordered many of them myself and am always impressed with the quality. You can set your own prices and Redbubble makes a small commission from any sales. The only drawback is that you cannot sell digital downloads – only products.
If you want to sell both products and digital downloads take a look at Zenfolio.
You want to have a blog where you can share stories or articles
The two big players in this field are Blogger and WordPress.
Blogger is very easy to setup and adding content is straightforward but there are fewer options for design and custom features than WordPress offers.
WordPress has a steeper learning curve but if you are going to have a blog you probably want it to have a really nice design and some customizable functions. And it’s way easier to just start with WordPress than it is to try to move a blog from Blogger to WordPress later.
You can start a WordPress blog at wordpress.com or you can start a WordPress blog on your own website with WordPress.org.
The bottom line is that Blogger is a better option if you want your blog to be super simple to set up and add content and you don’t need a lot of bells and whistles. WordPress is a better option if you want more advanced features and customization.
Both options are free and both have plugins that allow you to display your gallery.
You want to have your own website
If you are already really serious about your photography and you want to have your own website with your own domain name and have a blog and a gallery in the same place, and perhaps sell products and advertising, then get ready to roll up your sleeves or get out your wallet! (Probably a bit of both.)
You might want to hire someone else to set up the website for you if you’re not tech-savvy and then all you have to do is add blog posts and new images.
If you want to take it on yourself you need to choose to a webhost, buy a domain name (yourname.com) and a web hosting package. If you want to blog you will need to install WordPress and find a theme you love and install that.
Next you will need to choose a method for displaying your image gallery:
- if you just want to display your gallery without selling and do not have a blog, check out jAlbum. I have used it on a number of website and found it easy to use, it looks great, and it’s free;
- if you have a blog and just want to display your images without selling, you can use a WordPress plugin such as NextGEN or Lightbox;
- if you have a blog and also want to sell images from your gallery, and have the same design for both, you should check out a premium service like SmugMug, Photocrati or Photoshelter.
Creating your own website is a huge topic so if you are going to delve into it you have some researching to do.
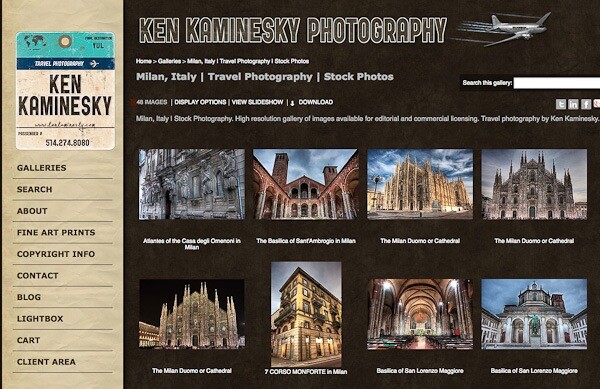
This screenshot is from Ken Kaminesky’s website built with Photoshelter.
For my own website, I use WordPress with a theme from Graph Paper Press and Photoshelter for my gallery.
3. Building your audience through social media
If you want to promote your photography beyond your family and friends you should start building your audience right away. Using social media is the best and fastest way to find people who love to look at your images and might become customers or clients in the future. As well, they will be your marketing department by helping to spread the word about your photography.
There are so many different social networks out there. Again it is a learning curve just to figure out which ones will work best for you and how you should use them. So let me give you a quick primer on the five social networks that have worked best for me.
Twitter
Twitter is my favourite social network and the first one I started. A “tweet” has a maximum of 140 characters so it is quick to sift through a lot of information to find what you are interested in.
Most photographers post links to their images and their blog posts. If you are interested you click, if not you move on.
If you want to grow your audience on twitter it is important to promote other people’s work as well as your own.
Google+
Google+ is the social network that was designed for photographers. In many ways it is the opposite of twitter because people tend to post very long posts and have conversations in the comments section.
Because of this engagement within G+, people rarely click links which makes it difficult to drive traffic to a blog. But if you put your whole blog post on G+ you might get more interaction and comments there than you do on your blog.
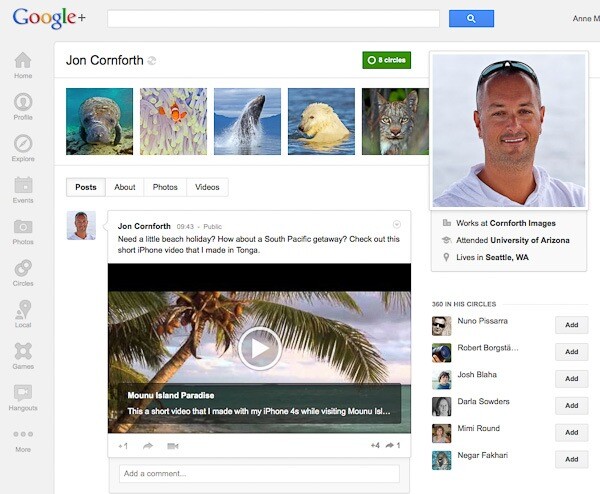
This screenshot is from Jon Cornforth’s page on Google+.
StumbleUpon
StumbleUpon is a bit like rolling the dice. You have no idea what it is going to land on but it will be something interesting to you. The idea is that you follow people who have similar interests and when you “stumble” you see the pages that they like. Or you can stumble certain topics like photography or travel.
The difference here is that you are not supposed to stumble your own links and you get penalized if you do it too often. It’s really better to put a StumbleUpon button on your website or blog and hope that other people stumble it. When they do you will get a huge spike in traffic.
Pinterest
Do you like scrap booking or collecting things? This social network is the one for you.
In Pinterest you have boards where you pin groups of images you like, just like pinning an image you cut out of a magazine on a cork board. It’s a great place for collecting images that inspire you, or places you want to go, or whatever you are interested in.
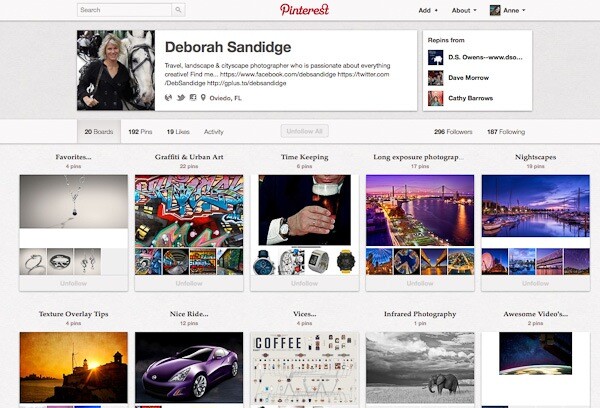
This screenshot is from Deborah Sandidge’s page on Pinterest.
When you follow someone you will see the images they pin on their boards. If you like an image and want to add it to your collection you simply re-pin it to one of your boards. You can pin your own images too and people who follow you will see them.
Facebook
I hate to say it but I do get a lot of traffic from Facebook and it would be negligent of me to leave it out. Even though it is the most difficult, confusing, frustrating and sometimes outright stupid system to use. But because it was first almost everyone is on it.
Unfortunately, I don’t have the power to make everyone stop using it so it’s one of those “if you can’t beat them, join them” kinds of things. Regardless of my opinion, Facebook will generate traffic and help you build your audience.
In Short …
If you do not yet have a gallery of images or a blog and you just want to get some stuff online quickly and easily, start with Redbubble. It is free, easy to use and comes with a great community of photographers. It’s a great place to get your feet wet.
Anne McKinnell is a photographer, writer and nomad who travels around North America in an RV photographing beautiful places. You can read about her adventures on her blog. She is also the author of several eBooks on photography. This post contains excerpts from her latest eBook “8 Ways To Accelerate Your Photography.”
Post originally from: Digital Photography Tips.
Check out our more Photography Tips at Photography Tips for Beginners, Portrait Photography Tips and Wedding Photography Tips.
Sharing Your Photography On The Web


 Image recognition is getting better by the day. Perhaps, that’s why we keep talking about it so much. The reverse image search engine that usually gets most of the clicks is


